About Emergency Calendar (eCal)
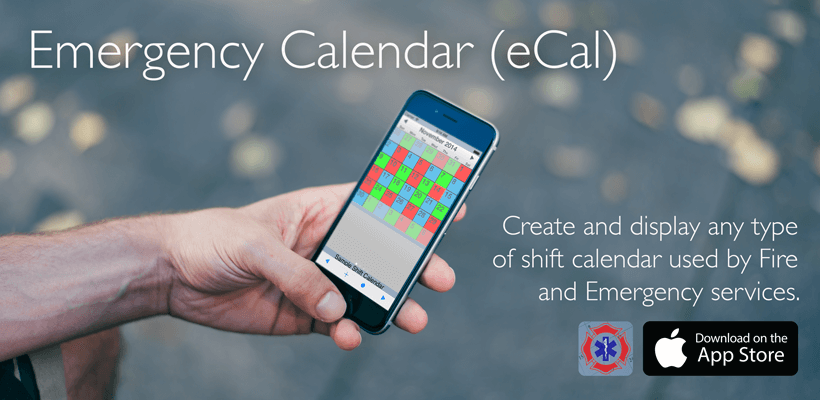
The eCal iPhone application was developed to create and display any type of shift calendar for fire departments and emergency medical services. The eCal app allows users to personally customize their shift schedule — whether it’s a 24-on/48-off, 48-on/96-off, or any other Platoon Shift or Kelly Schedule combination. All proceeds will go to support Trek Medics.

Important!
The Emergency Calendar will create any Kelly Shift or Platoon schedule by using the repeating pattern unique to their specific schedule. It’s important to only include one complete Rotation/Cycle when creating your calendar. Examples:
- 2/4 Kelly = 12-day Rotation/Cycle (LA County, OCFA)
- 3/4 Kelly = 9-day Rotation/Cycle (LA City, San Jose)
- 4/6 Kelly = 24-day Rotation/Cycle (SD County, San Bernardino)
- 48/96 Platoon = 6-day Rotation/Cycle (Santa Barbara City, Albuquerque)
Please DO NOT attempt to schedule by week, month or single “go-around” — these do not reflect the pattern that determines each schedule.
Designing Your Custom Shift Calendar
1. Main Screen
To get to the EDIT CALENDARS view, press the third button from the left at the bottom of the screen. The pre-existing calendars will show up in a list.


2. Edit / Add Calendars
You can delete calendars, change their position by dragging them, or select them to edit. You can add a new calendar to the list by clicking the ADD CALENDAR button to the bottom right.
3. Create New Shift Calendar
1. Enter the calendar NAME in the top text field.
2. To customize the schedule, select the START button and then click the start date of the first day of a given cycle.
3. Then select the END button and click on the last date of a single, completed cycle. (For example, 2/4 Kelly = 12 total days; 4/6 Kelly = 24 total days; 48/96 Platoon = 6 total days.) Once you have selected the Start and End dates, the Start date will be highlighted in green, the End date will be highlighted in red, and the dates in between will be highlighted in yellow.
4. To configure the appropriate colors according to their respective shifts, select the desired color at the bottom of the screen and then click on the dates that correspond to that color in the pattern.
5. Once the colors are filled in, SAVE the calendar. When you return to the original calendar list, you will see it has been added to the list of other calendars.
6. To view the new calendar, click the VIEW CALENDARS button at the bottom left of the window. The schedule you made will be repeated throughout the calendar.

4. Add / Edit Notes
1. Select the appropriate DATE for the note and then press the “+” button.
2. Choose between the TITLE, START DATE, REPEAT and DESCRIPTION buttons to edit the corresponding data.
3. To ADD A LABEL, select from Overtime, Pay Day, Shift Trade etc. When you add a label, it appears as a note in the main calendar view and also adds a corresponding symbol to the calendar date – e.g., $ = Pay Day, OT = Overtime etc.
4. Press the DONE button and the note will be added to the calendar. Dates with added Notes will be designated by a Dot. When that Date is clicked on, the respective Note will be displayed on the table below the calendar.
5. To EDIT A NOTE, select the desired note from the table below the calendar and change the data of the note. A DELETE button will appear at the bottom of the view allowing you to remove the note from the calendar. (Note: Deleting one instance of a repeating note will remove all instances of that note.)


